Last updated on April 4th, 2024 at 11:49 am

Tuta (formerly Tutanota) is an end-to-end encrypted email provider that ensures your emails stay private. For maximum security, you can also protect your Tuta account with a security key. In this tutorial, I’ll show you how to secure your account with a Yubikey and will walk you through how to log in once you have set up your key.
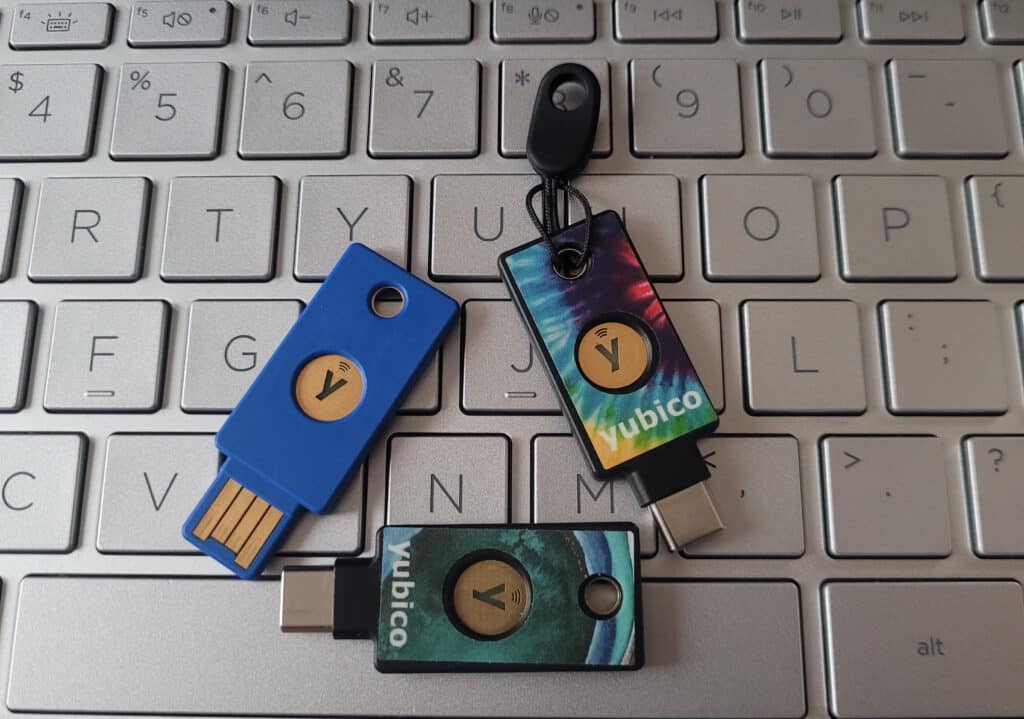
To start, you’ll need at least one, though ideally at least two, security keys. Yubikeys are probably the most well-known kind and I’ll be using two Yubikey 5c NFCs and a Yubikey Security Key in this tutorial. However, there are other kinds of keys, such as the Titan key, Trustkey and Nitrokey, which should all work just as well.
You can watch my YouTube video about protecting your Tuta account with a security key, or read on for a written tutorial.
Setting up a security key with Tuta using a web browser
First, log in to your Tuta account and then click on the settings button on the bottom left of the screen.
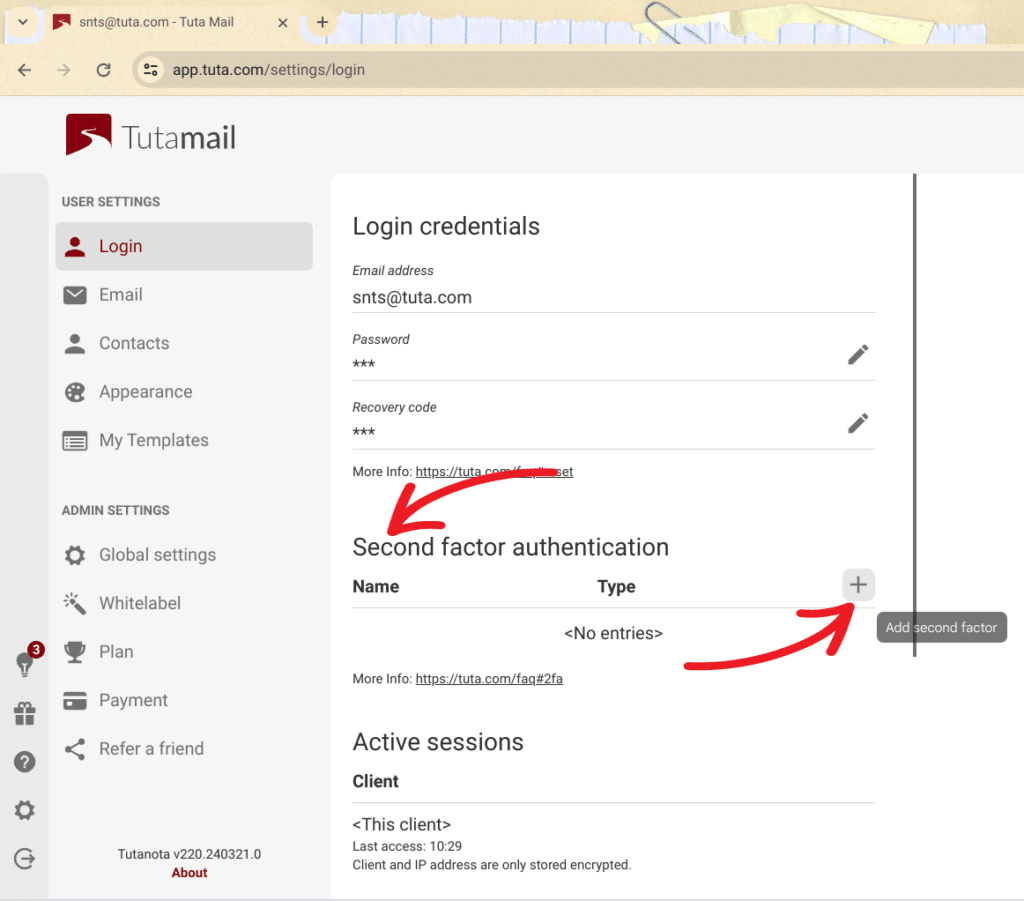
Under the “Login” tab, find the “Second factor authentication” section and hit the “plus” button.
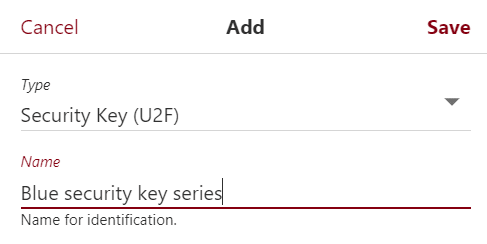
Make sure “Security Key (U2F)” is selected and give your key a descriptive name in case you ever need to remove it, e.g. if it gets lost.
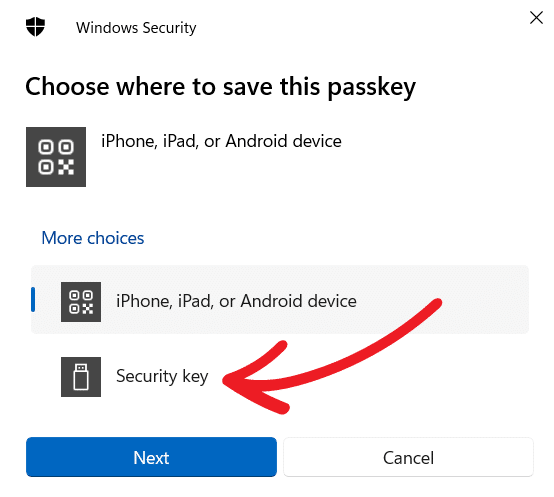
Depending on your operating system, you may need to select the device to store your passkey on. Just click “security key.” You may also be asked to enter your PIN if you configured your key to use one.
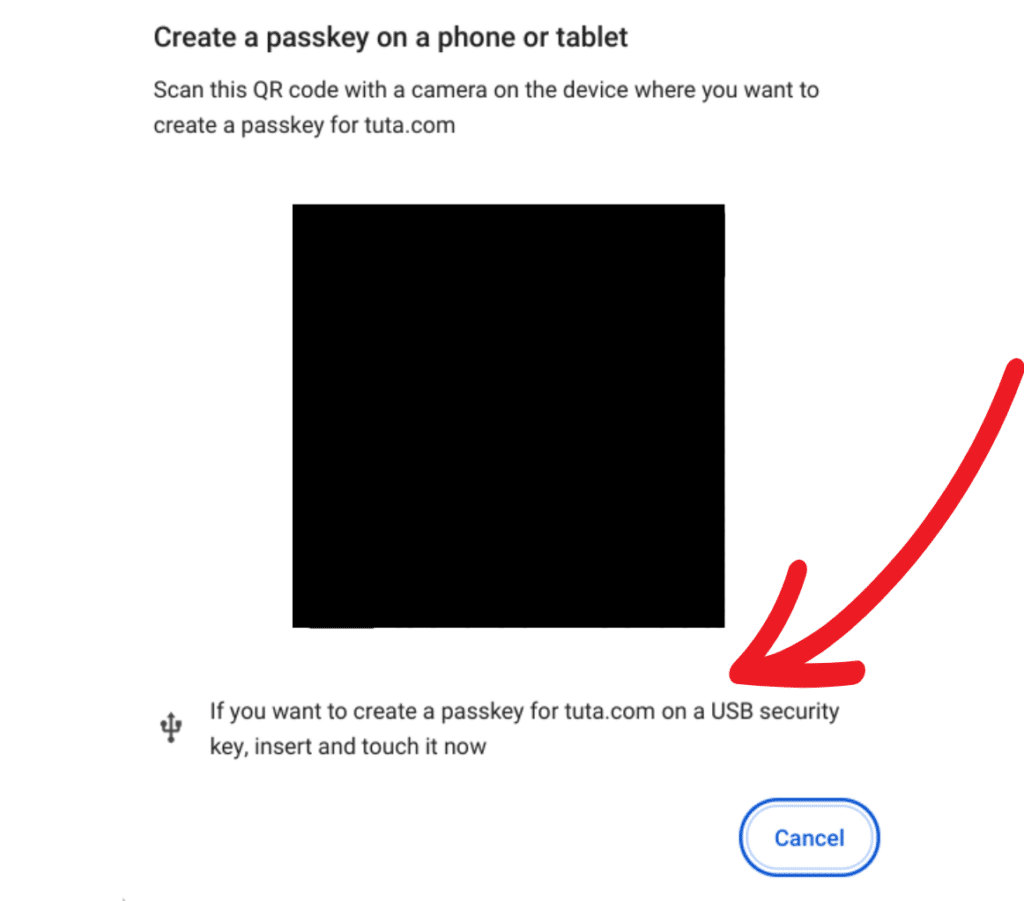
Then, plug your security key into your device and tap the button on it. Your account is now protected with a security key!
The final step is to save your recovery code. Don’t skip this step as it’s the only way to regain access to your account if you forget your password or lose your security key.
Logging into Tuta with a security key using a web browser
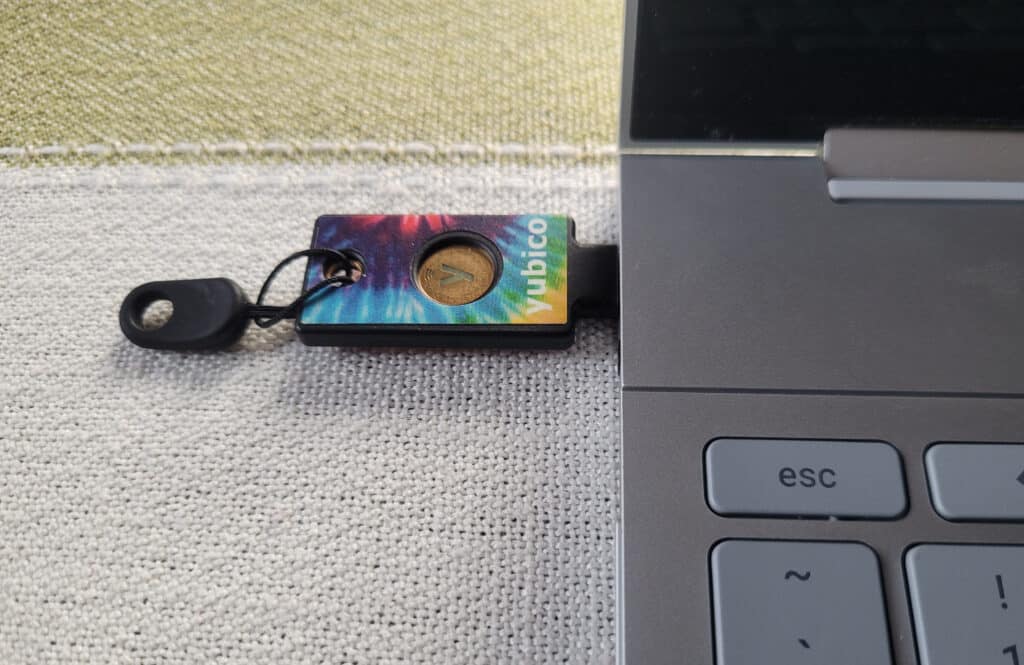
Logging in with a security key on the web is easy.
First, enter your username and password as usual. You’ll then see a message asking you to authenticate with your second factor. Select the “Click to use security key” option.
Depending on your operating system, you may be asked to select the device your passkey is stored on. If so, just select “Security key.”
Finally, insert your security key into your device and tap it. Boom, you’re logged in!
Setting up a security key with Tuta on the Windows Desktop app
To set up your security key using Tuta’s desktop app on Windows, log in and click the settings icon in the bottom left. Make sure you’re in the “Login” tab and scroll down to the “second factor authentication” section.
Next click the plus sign to add your security key to your account. Make sure that “Security key (U2F)” is selected and give your key a descriptive name in case you ever need to remove it.
Windows will then ask you where you want to save the passkey. Select “security key.” You’ll then see a notice from Windows confirming details about the setup of your security key. Click “OK.”
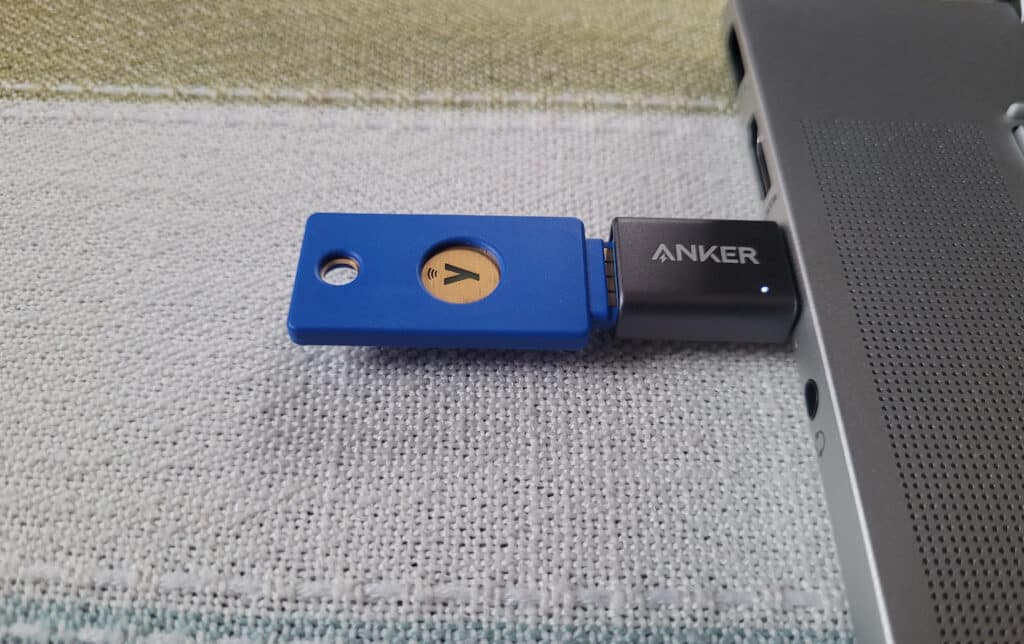
Next, you’ll need to insert your key into your device. If you have set up a PIN for your security key, you will be asked to enter it now. Then you just need to tap the button on your security key and it will be linked to your account.
Finally, Tuta will show you your recovery code. Save it somewhere safe, as it’s the only way to regain access to your account if you forget your password or lose access to your security key.
Logging into Tuta with a security key on the Windows desktop app
Open up the Tuta Windows desktop app and enter your username and password. You’ll then be prompted to authenticate with your second factor, so select “click to use security key.”
Windows will then ask which device your passkey is on. Select “security key” and click “next.” Then, plug your security key into your computer and then tap the button. Voila, you’re logged in to your account.
Setting up a security key on mobile
In what follows, I’ll show you how to set up a security key using the Tuta Android app. The process should be similar if you use the iOS app.
First, log in to your Tuta account, then tap the settings button on the bottom left of the screen. Scroll down to the “Second factor authentication” section and hit the “+” button.
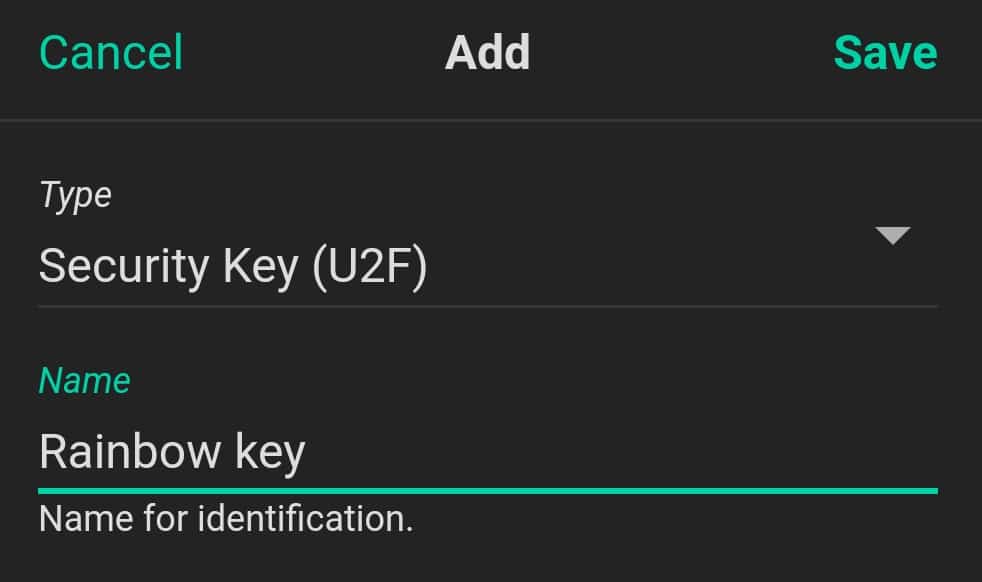
In the box that appears, make sure the “Security Key (U2F)” option is selected and enter a descriptive name for your key in case you ever need to remove it. Then hit “save.”
You’ll then be asked to choose a device to use for your passkey. Select “USB security key” if you plan to connect your key via USB and “NFC security key” if you plan to connect using NFC.
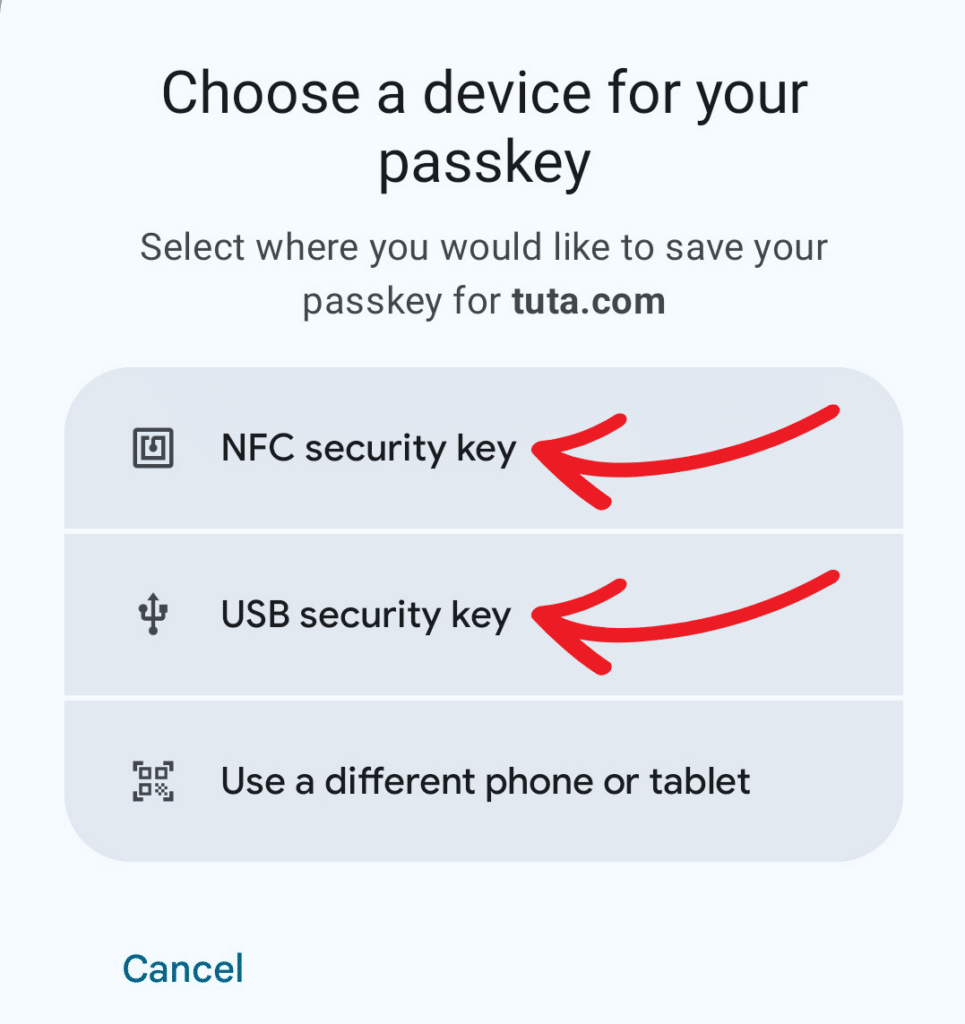
Next, you’ll need to connect your key to your device. Then tap your key to finish the setup process.
Finally, Tuta will show you your recovery code. Save this somewhere safe, as you’ll need it if you ever forget your password or lose access to your security key.
Logging into Tuta with a security key on mobile
To log in once you’ve set up your security key, enter your username and password as usual. You’ll see a message asking you to authenticate with your second factor. Tap on the “Click to use a security key” button.
On Android, you’ll see a message saying “No passkeys are available” on your device. Just click on “use a different device” and another message will appear asking you to select the device with your passkey.
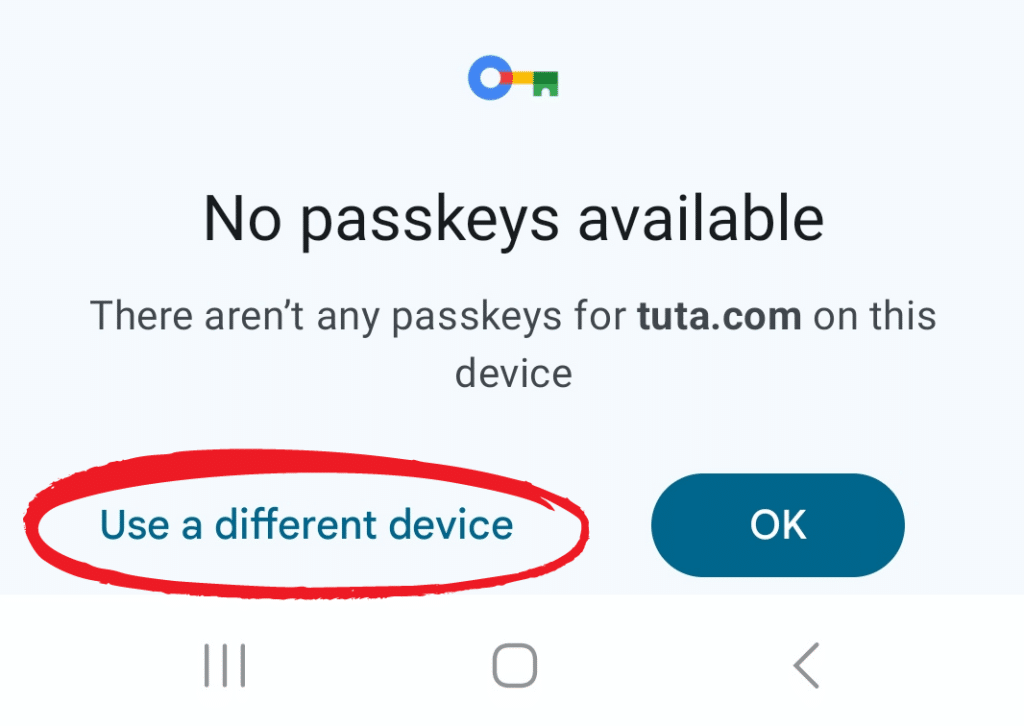
Next, select “NFC Security Key” or “USB security key,” depending on how you plan to connect your key to your device. You’ll then need to connect your key, tap the button, and you’ll be logged in!
Troubleshooting password managers
If you use a password manager, like 1Password, it may offer to save a passkey for Tuta when you try to set up your security key. You should be able to either click the security key icon in the notification from the password manager or simply close it to continue with the process of adding your security key.
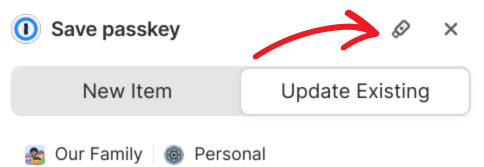
However, in my testing, I found this didn’t work when using Brave on Windows. Each time I tried to close the notification from 1Password, Tuta told me, “Your security key has not been recognized.”
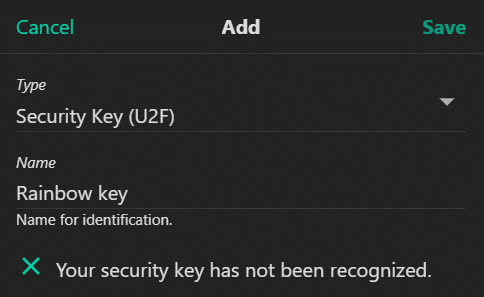
The only way I could resolve the issue was by adding the security key in a different browser without the 1Password extension installed. I could then login to Tuta successfully using Brave with my security key.
The takeaway
Protecting your Tuta account with a security key like a Yubikey is a great way to ensure your emails stay completely safe and private. Fortunately, setting up and using your security key is easy, whether you access Tuta using your browser, desktop app, or on mobile!
